In fact, In 2017, NAR found that of respondents who used the internet in their [home] search, 89% found photos to be very useful and 50% found virtual tours to be very useful.*
That was in 2017… flash forward to 2020 where virtually ALL home buyers are finding photos and virtual tours very useful.
So, maybe you’ve never made a Virtual Walkthrough Video before, or maybe you have but you want to improve on those skills, or maybe you’re just looking for new ideas to enhance the skills you already have.
Whatever your reason, we’ve got the tips, tools, and talking points you need to create a Virtual Walkthrough Video that stands out and brings in buyers.
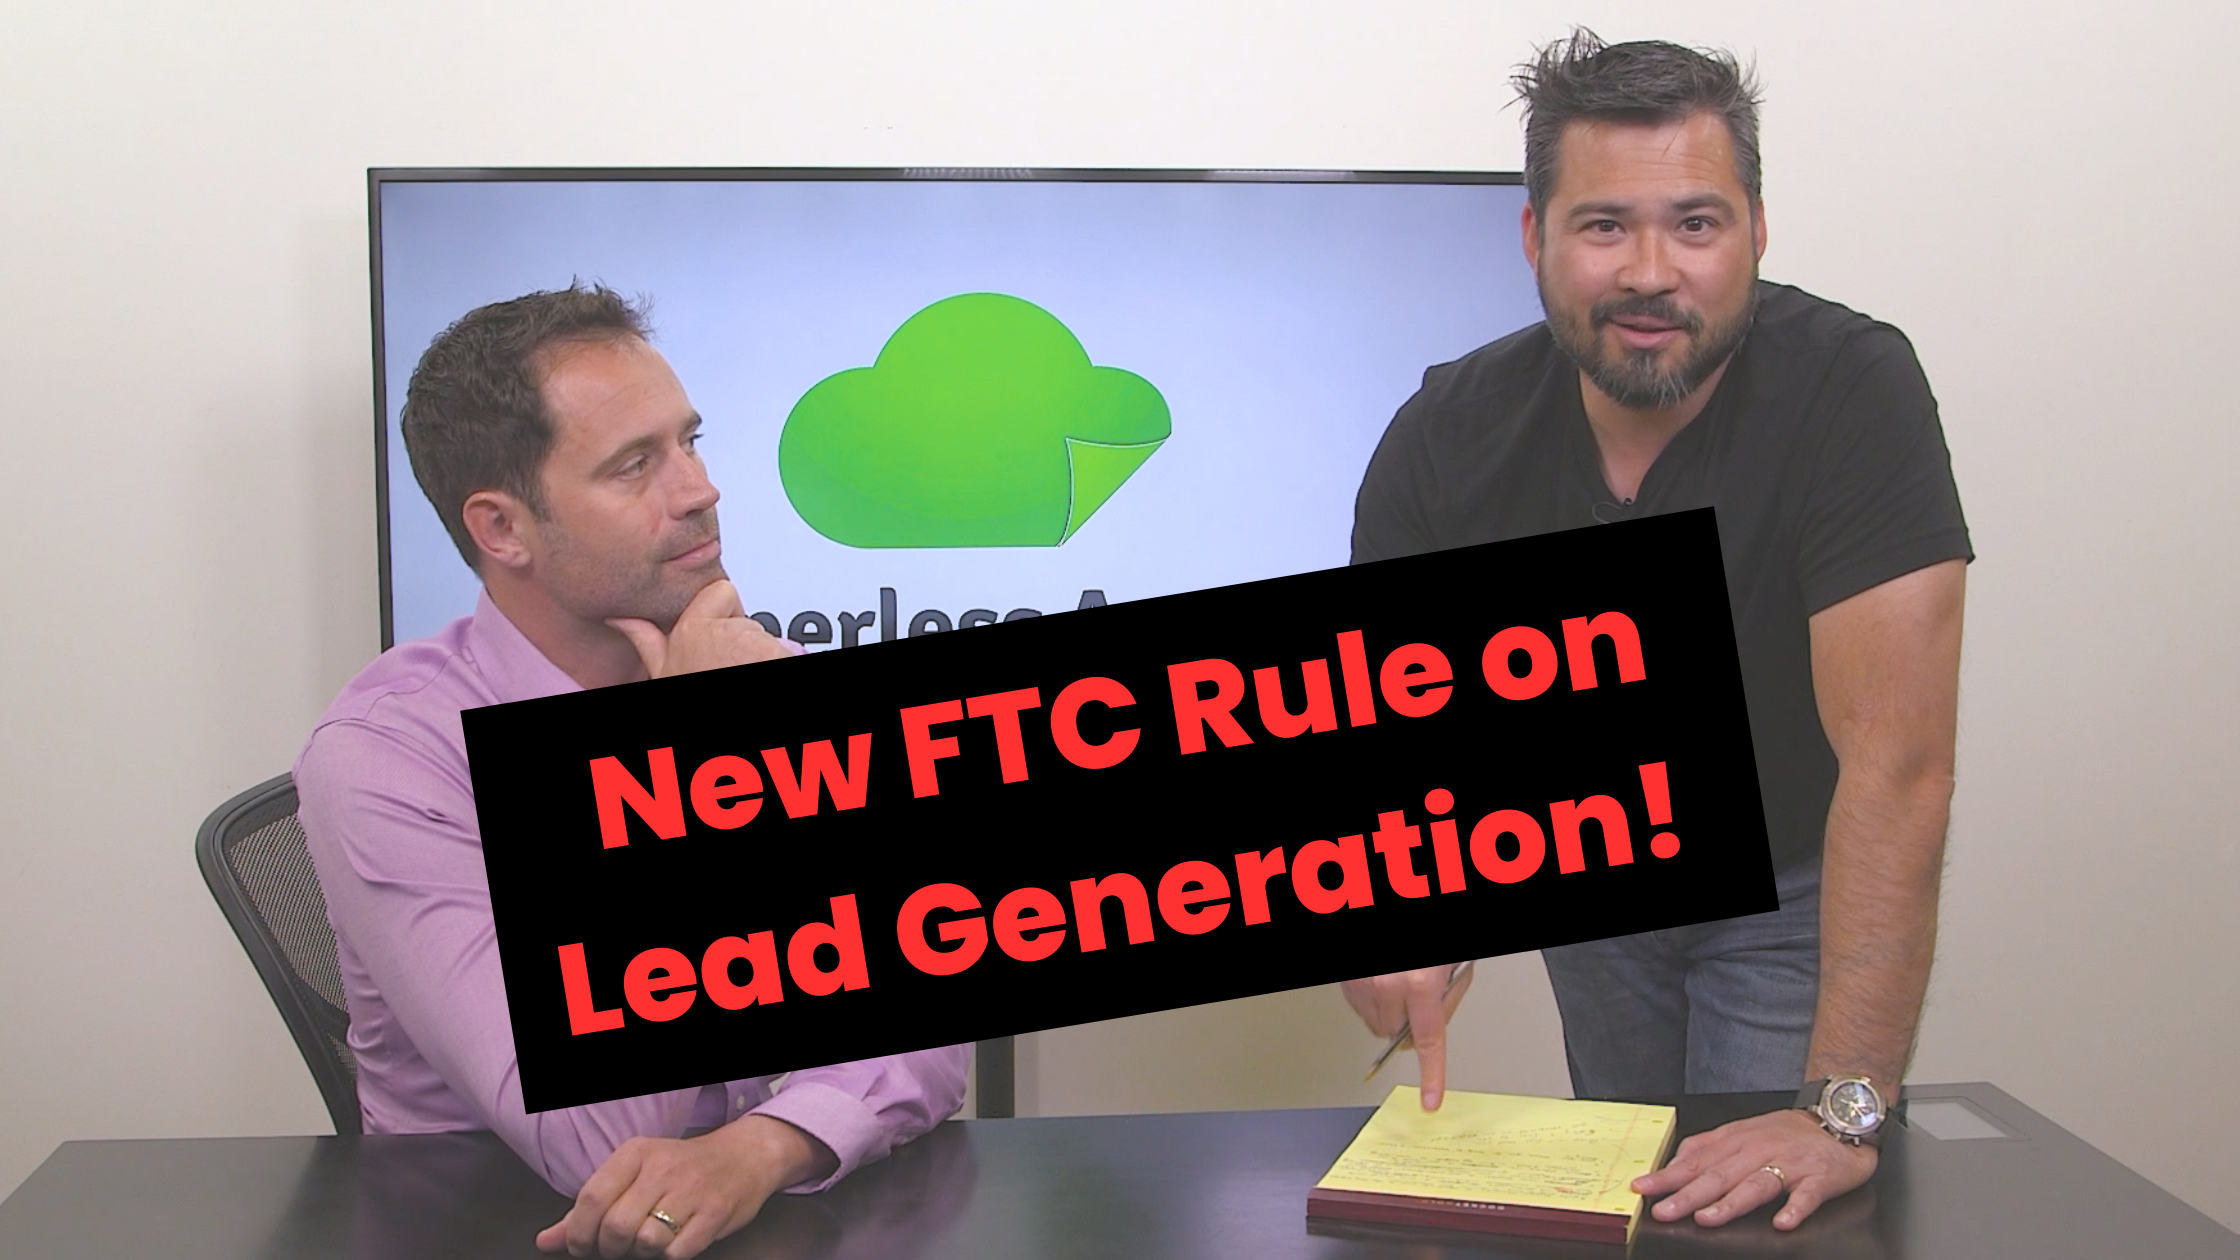
Check out the example below as Chris Scott, Real Estate Digital Marketing Expert & President of the Paperless Agent, along with Jonathan Creath, REALTOR at Creath Partners, take us on a tour of one of their new listings:
Top 7 Talking Points to Hit On:
One of the first things you want to do is introduce yourself (& your partner if you’re not filming alone) & acknowledge the brokerage you work for. This starts building trust with your viewer from the get go.
Introduce the home & location you are in - add any interesting or exciting facts about the location if you have them. (This would be a great time to discuss school districts or parks in the area, etc.)
Highlight some of the home's best features to tease viewers into watching more - In the example video we begin by highlighting the views that come with the home. (Make sure not to give away ALL of the home’s best features in the beginning. Think of this as just a taste of what the home offers).
Give a lineup of what you can expect during the tour, just like you would if you were giving a live showing. Jonathan & Chris organized the video to show his/her features throughout the home - consider organizing your video in a way that will flow for viewers and keep their attention
When you’re going through the house make sure you’re explaining each room you’re in/image you’re showing on the video. This is also the perfect time for any special details or facts you have about the home or specific rooms, and if you’re touring with the current owners this is a great time for them to touch on their favorite features of the house or anything special they want future owners to know!
Give small anecdotes (if you have them) or examples of how you can use each room as you go through the house - In the example video Jonathan and Chris touch on the game room that kids or grandkids can use to escape parents, the his/her bathrooms, the craft room, etc.
Have your video and talking points flow throughout the house like you would if you were giving a live tour - It wouldn’t make sense to talk about the backyard when you walk in the front door so keep that in mind when doing a virtual walkthrough as well
Tips:
Organize and write out how you want your video to flow BEFORE heading out to record - having a list of what you know you need is easier than having to go back and record something you forgot.
Film more than you think you’ll need! It’s better to have more film to choose from than to realize as you sit down to edit that you don’t have enough!
When filming alone, pretend like you’re giving a private showing to a client - this will help the conversation flow more naturally and sound less scripted (even when you’re reading off of a script).
PRACTICE before filming! It makes all the difference (seriously, people can tell).
Visually address any updates to the home as you’re verbally talking about it - In the example video, Jonathan and Chris show the kitchen and discuss the uses for both husband and wife, what they don’t discuss is that the kitchen was recently repainted - instead they created a graphic on-screen to show that.
- Have fun with it! Make your virtual walkthrough video memorable by interacting with the home, instead of just walking through like a robot.
- Always add a visual call to action (CTA) at the end - while verbalizing your offer is always a great idea you also want to make sure to create a visual CTA within your video to really nail it in. (Plus this allows viewers to pause and actually look you up on the internet versus trying to remember your website long enough to write it down).
Tools:
Below is a list of the tools we used to capture & edit this video.
The tools listed are recommendations only, we are not paid advertisers of any of the tools below:
- iPhone XR https://www.apple.com/shop/buy-iphone/iphone-xr
- Tripod https://www.amazon.com/AmazonBasics-60-Inch-Lightweight-Tripod-Bag/dp/B005KP473Q/ref=sr_1_8?dchild=1&keywords=tripod&qid=1594056269&sr=8-8
- iPhone holder from Ailun https://www.amazon.com/stores/page/243FDF1B-127F-4DDA-BA40-54BFB9A5EB6C?ingress=0&visitId=74305008-0b9a-4c17-a425-c5011db99c1a
- Screenflow (to edit) https://www.telestream.net/screenflow/overview.htm?&gclid=EAIaIQobChMIgKjqzZK56gIVh4bACh1AuAbgEAAYASAAEgLdMvD_BwE
If you are using any tools not on the recommendations list, let us know in the comments!
We’d love to expand this list out to include other tools fellow REALTORS are using with success.
For more tips, tools, and checklists, check out our FREE, "Get More Listings Checklist" virtual training this Thursday, July 9th at 12pm ET.


